Today we’re doing milk art! Kids of all ages will have so much fun with these art ideas. Milk art is fun, colorful, and messy! What good craft isn’t messy?! This is such a unique craft that doubles as an educational lesson as well. You can do this milk art at home or in the classroom.
Milk Art
Children can explore a different art medium with this fun milk art craft. They can also explore colors, shades, and science with this fun art project. Both little children and older children can do this craft as well so everyone can be included.
Science and art definitely mix when it comes to milk art. Who would have thought that milk could make such pretty and colorful art? So, without further ado, let’s make some colorful milk art.
This post contains affiliate links.
Related: Check out this fun color changing milk and soap experiment for kids.
Supplies Needed For This Milk Art Craft
How To Do This Milk Art Craft
Step 1

Pour milk in a dish. Just cover the bottom, don’t fill it up.
Step 2
Add a few drops of food dye and dip the Q-tip into soap and light touch the surface of the milk. The colors should explode.

Step 3
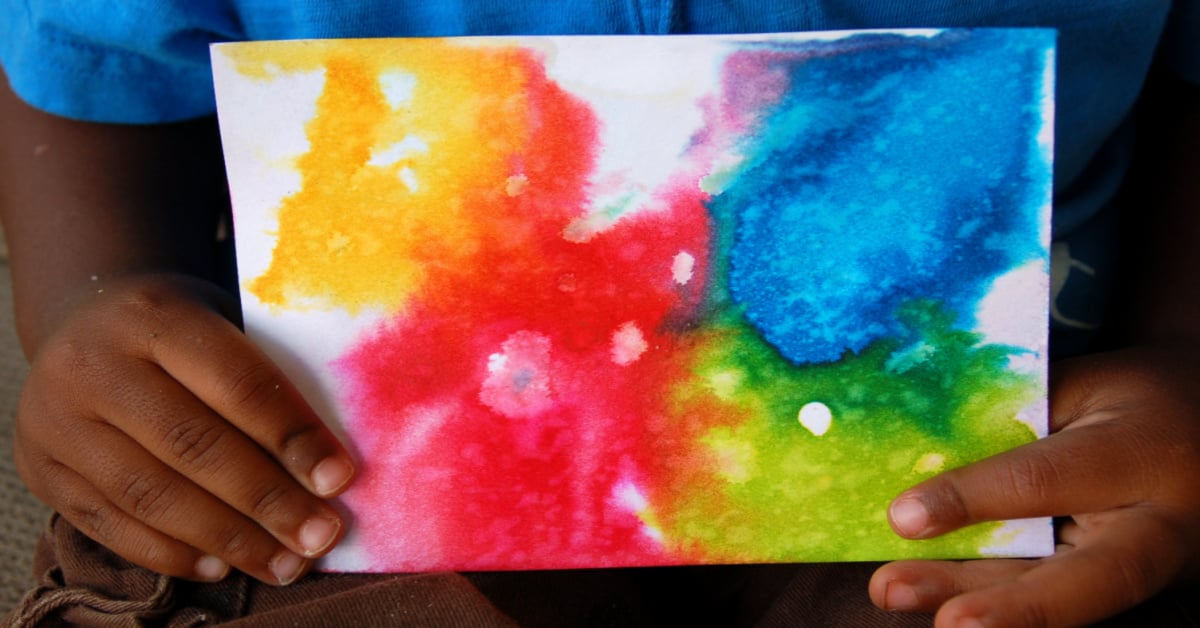
While the colors are shifting in the dish, dip your piece of paper in the milk. You’ll see a pastel pattern swirled on the paper.
How To Modify This Milk Art Craft

Want darker colors on your paper to make more pronounced art? I got you!
Step 4
Dip your paper into the milk before adding food coloring. Make sure the paper is very wet.
Step 5
Pull out the paper and put a couple drops of food dye on the paper.

Step 6
Put your Q-Tip back into the soap and dap the center of your drop of food dye and water the colors spread across the sheet.
Modify This Milk Art Craft For Younger Kids
To make it easier for smaller children, an adult or older child, should put drops of food coloring on the paper and they can dab with the Q-Tip after. Smaller kids may not have the fine motor skills to get drops of food coloring from the bottles.
Modify This Milk Art Craft For Older Kids
Older kids can further their art by adding embellishments. You can cut them shorter and turn them into postcards to send to friends and family. Or you could do something like draw around the color explosions and turn them into something unique.
Our Experience With This Fun and Colorful Milk Art
My kids had a blast with this milk art. We made so many different colorful papers that we drew on, added stickers too, and we did turn some of them into post cards. It was fun. And all my kids got to be involved. Just a heads up, make sure you put something down and put play clothes on your kids because food coloring stains.
That being said, it was a fun art project that meets science. We got to talk about surface tension and why the colors float, why the soap breaks them. It was educational, but in an interesting way.
But I hope your family has as much fun as mine with this milk art craft.
Materials
- 2% or Whole Milk
- Food Coloring
- Cardstock Paper
- Liquid Dish Soap
- Q-Tips
Instructions
- Pour milk in a dish. Just cover the bottom, don’t fill it up.
- Add a few drops of food dye and dip the Q-tip into soap and light touch the surface of the milk. The colors should explode.
- While the colors are shifting in the dish, dip your piece of paper in the milk. You’ll see a pastel pattern swirled on the paper.
- Dip your paper into the milk before adding food coloring. Make sure the paper is very wet.
- Pull out the paper and put a couple drops of food dye on the paper.
- Put your Q-Tip back into the soap and dap the center of your drop of food dye and water the colors spread across the sheet.
More Fun Art Projects From Kids Activities Blog
How did your milk art turn out?